Introduction
EVE-NG (Emulated Virtual Environment – Next Generation) is a powerful network emulation platform developed by foreign enthusiasts, widely used in the lab and testing environments of network engineers, learners, and IT operations professionals.
It allows users to build, connect, and run multiple network devices—including Cisco, Juniper, Huawei, Fortinet, MikroTik, Linux, Windows, and other system images—within a single web interface, simulating complex enterprise or carrier-grade network topologies.
Because the official community version requires users to configure images and common scripts themselves, searching online for images from various vendors can be time-consuming. Therefore, enthusiasts have compiled an EVE-NG “Lazy Version”, a non-official distribution that packages pre-installed/pre-configured EVE-NG virtual machine images (OVA/VM images) for out-of-the-box use, eliminating many setup steps.
Download Link
This is a lazy version I found online, built from the latest official community edition 6.2, and I’ve imported and tested it without issues. Decompression password:
www.emulatedlab.com
VMware Installation
-
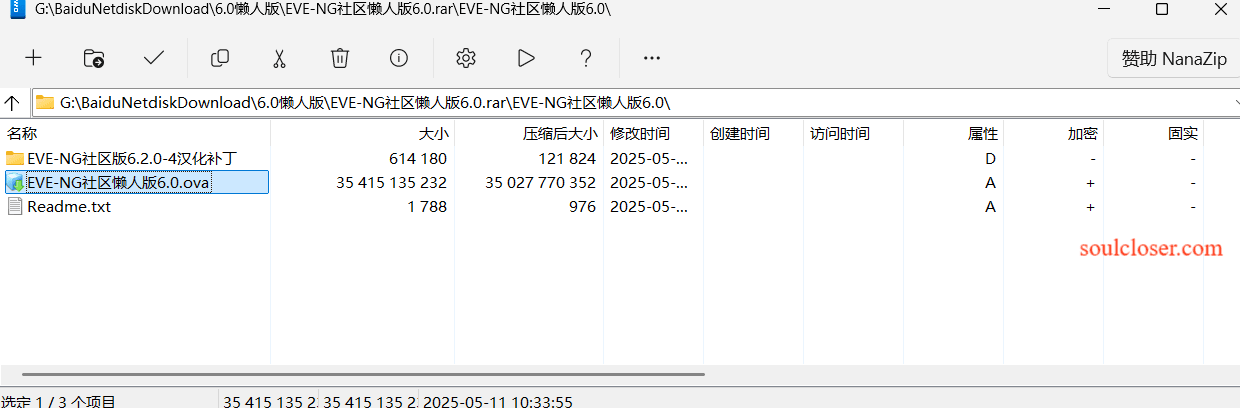
After downloading, locate and extract the compressed file in the folder to get the file named EVE-NG Community Lazy Version 6.0.ova.
-
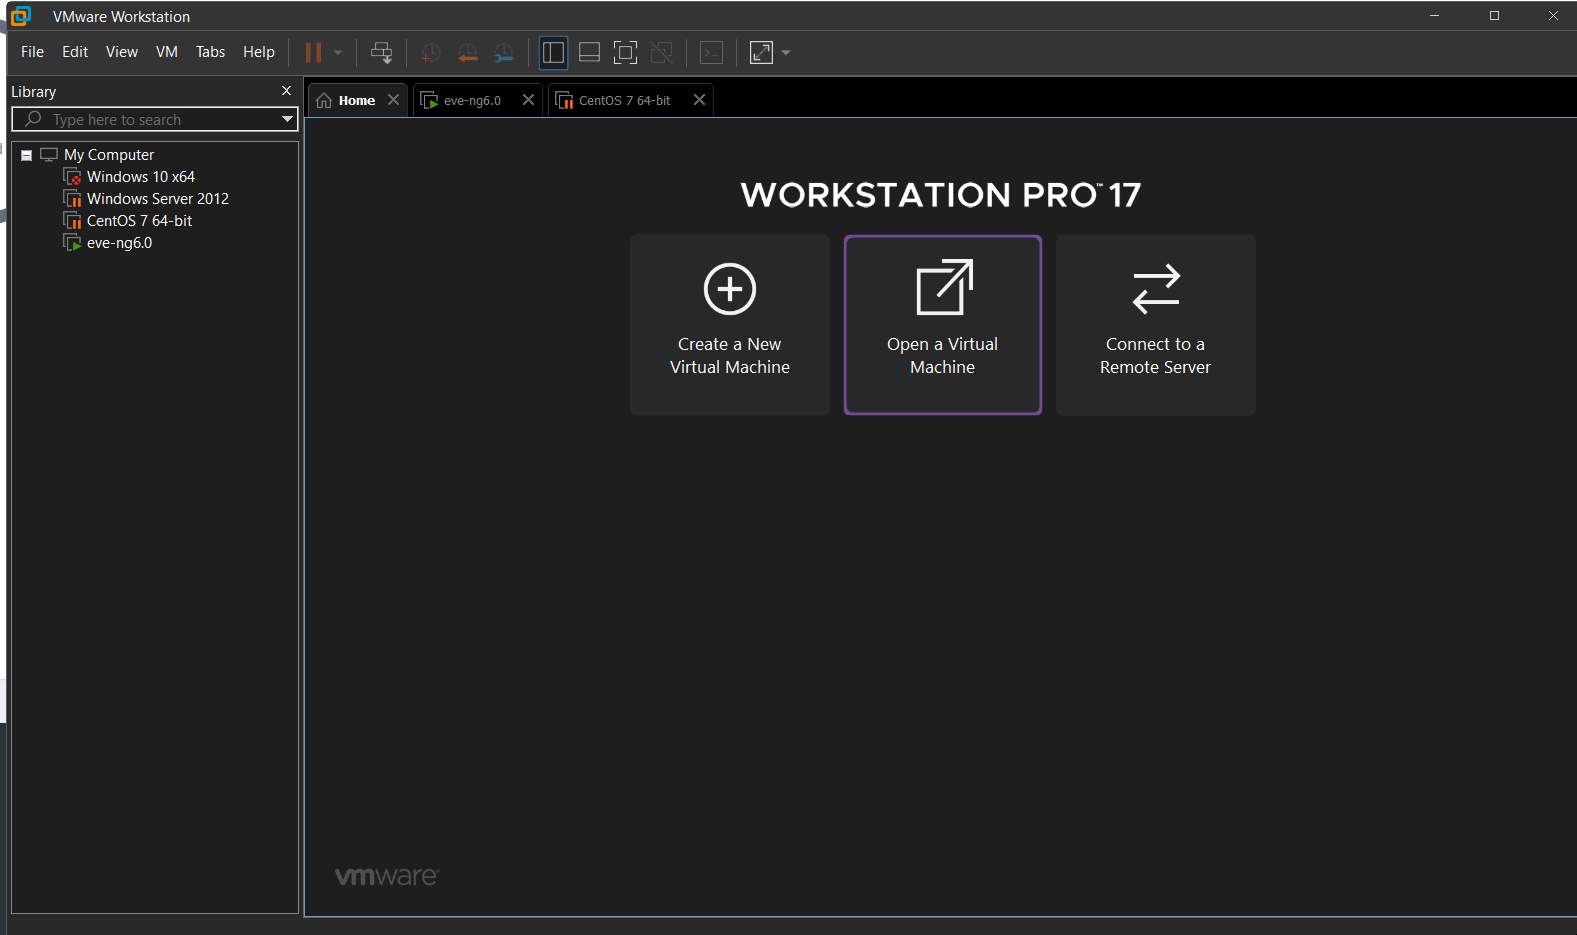
Open VMware, click Open a Virtual Machine, and select the recently extracted ova file.
-
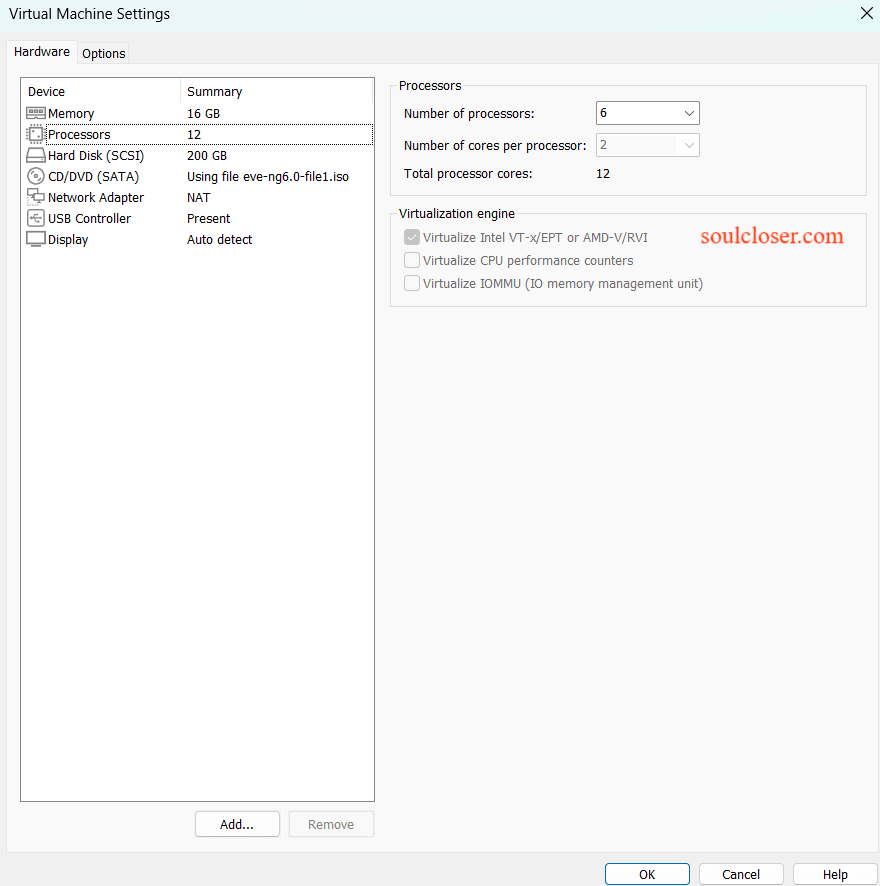
After import, right-click on the imported virtual machine, select Settings, and adjust performance parameters based on your computer’s specifications and the scale of experiments you intend to simulate. Also, make sure to check the first option in the virtual engine settings.
-
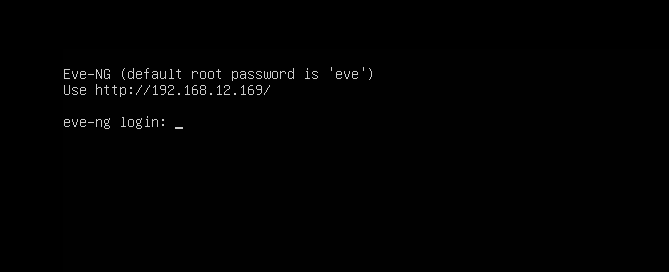
After modification, you can start the virtual machine directly. Once booted, you can see the access address on the interface. If you find no IP address on the page, check VMware’s network settings.
-
Visit the address in your browser, and log in to EVE-NG with the default username: admin and password: eve.

Basic Operations
-
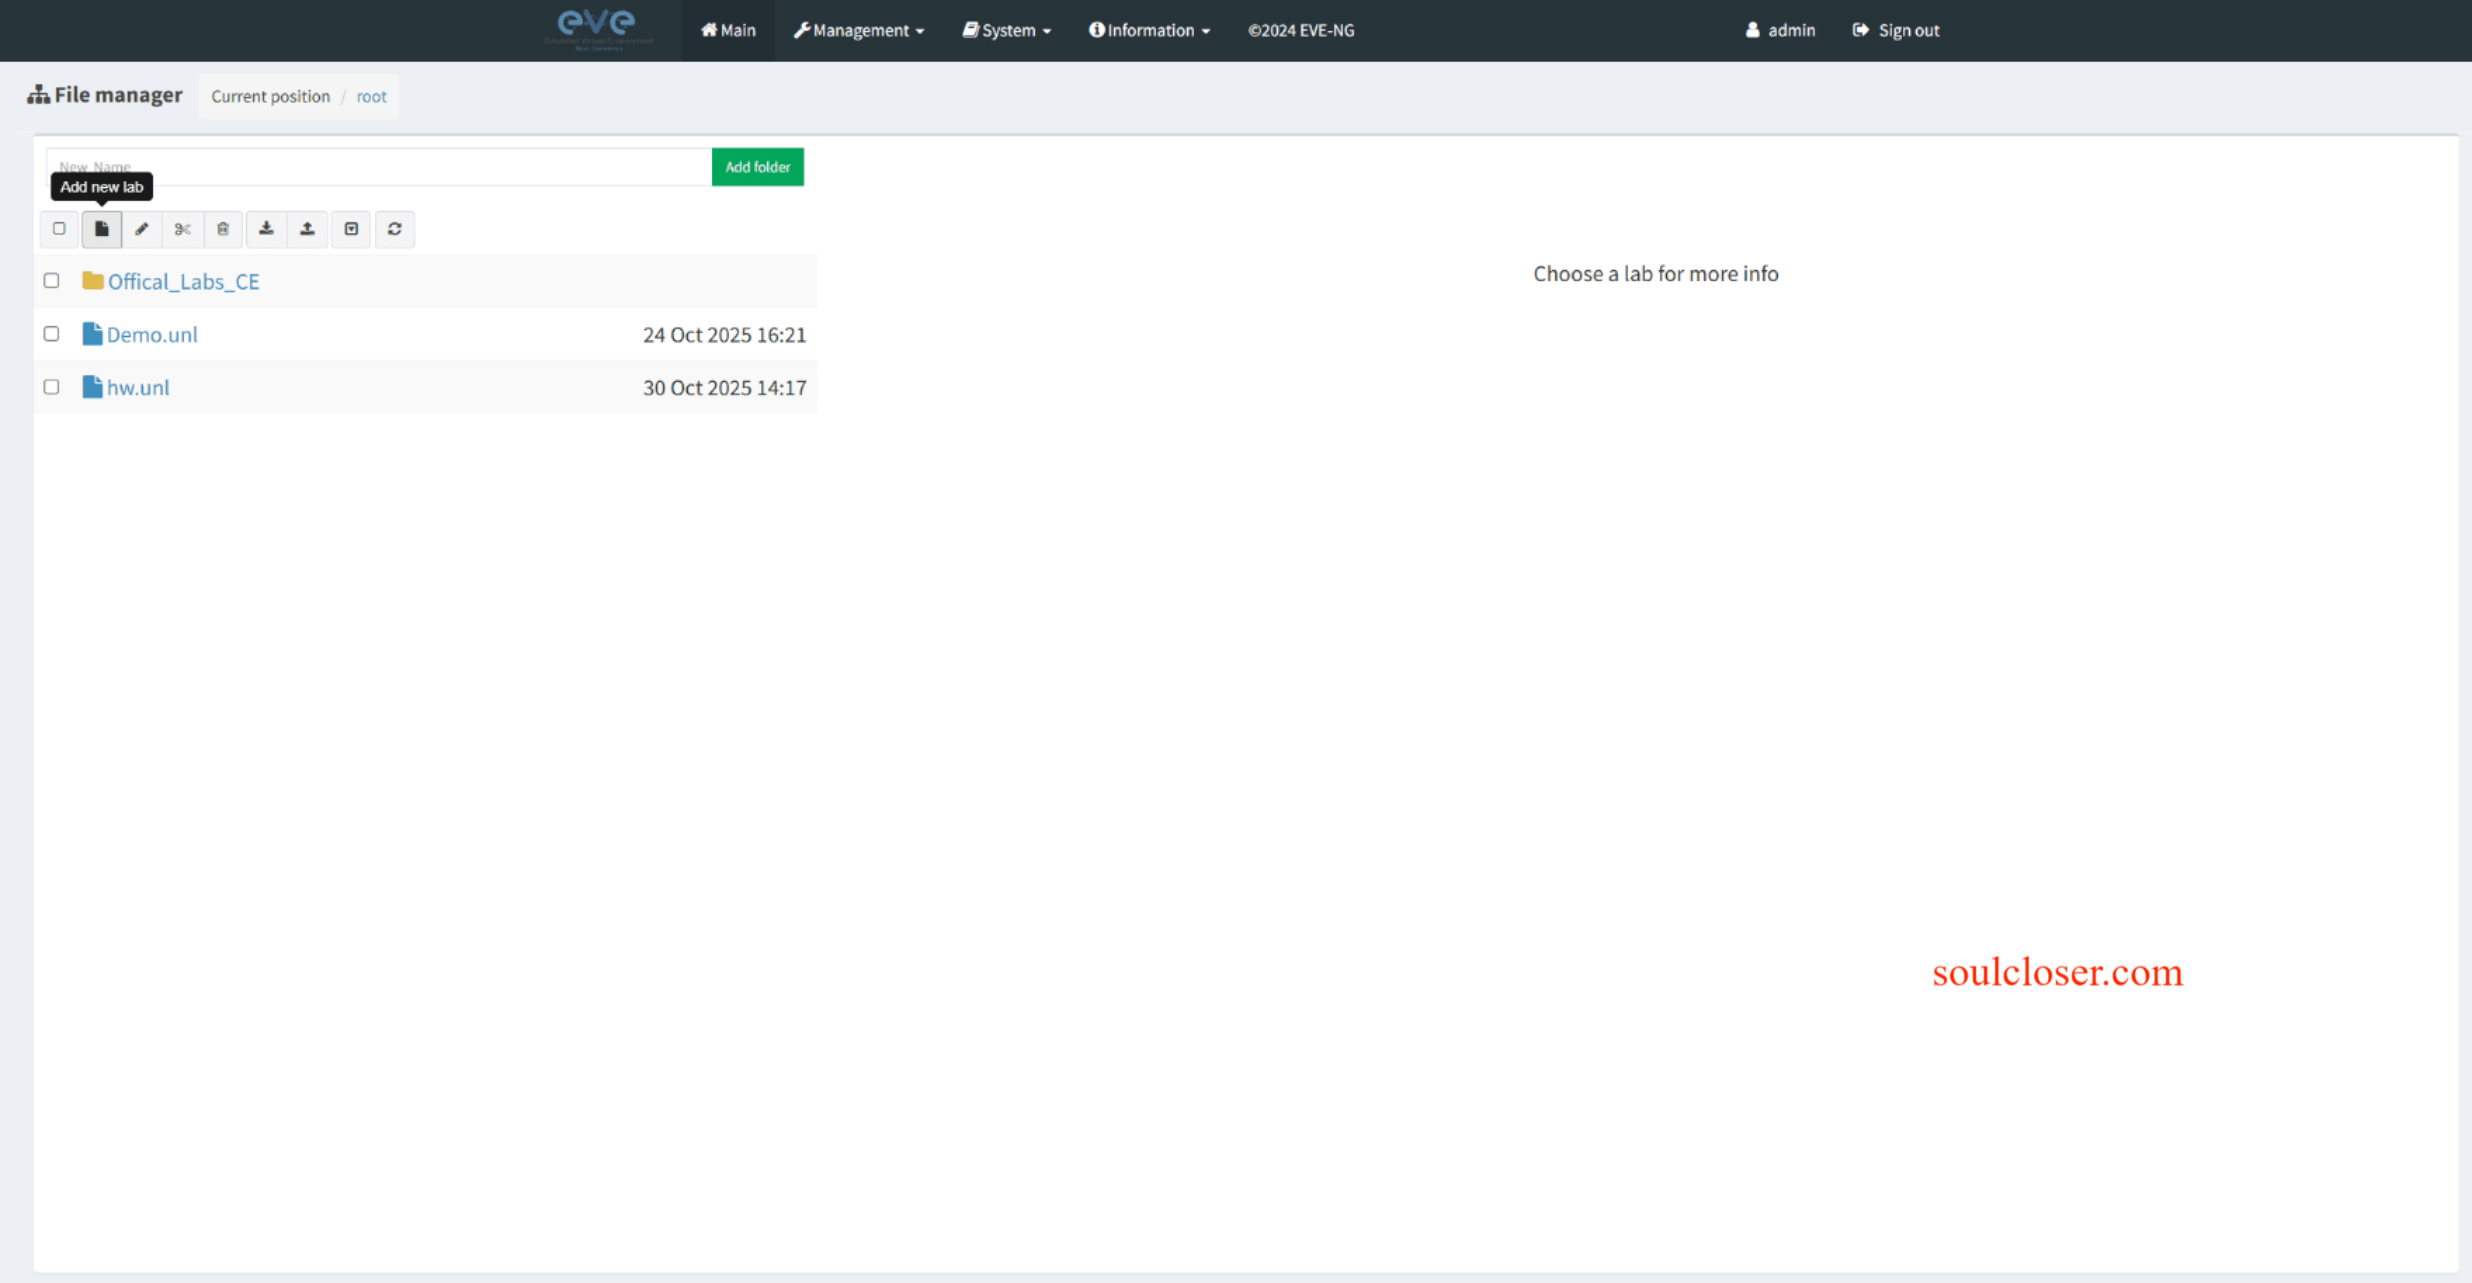
By default, there is already a folder containing pre-built topologies. To create a new topology, click Add New Lab, fill in the parameters, and you’ll enter the workspace page.
-
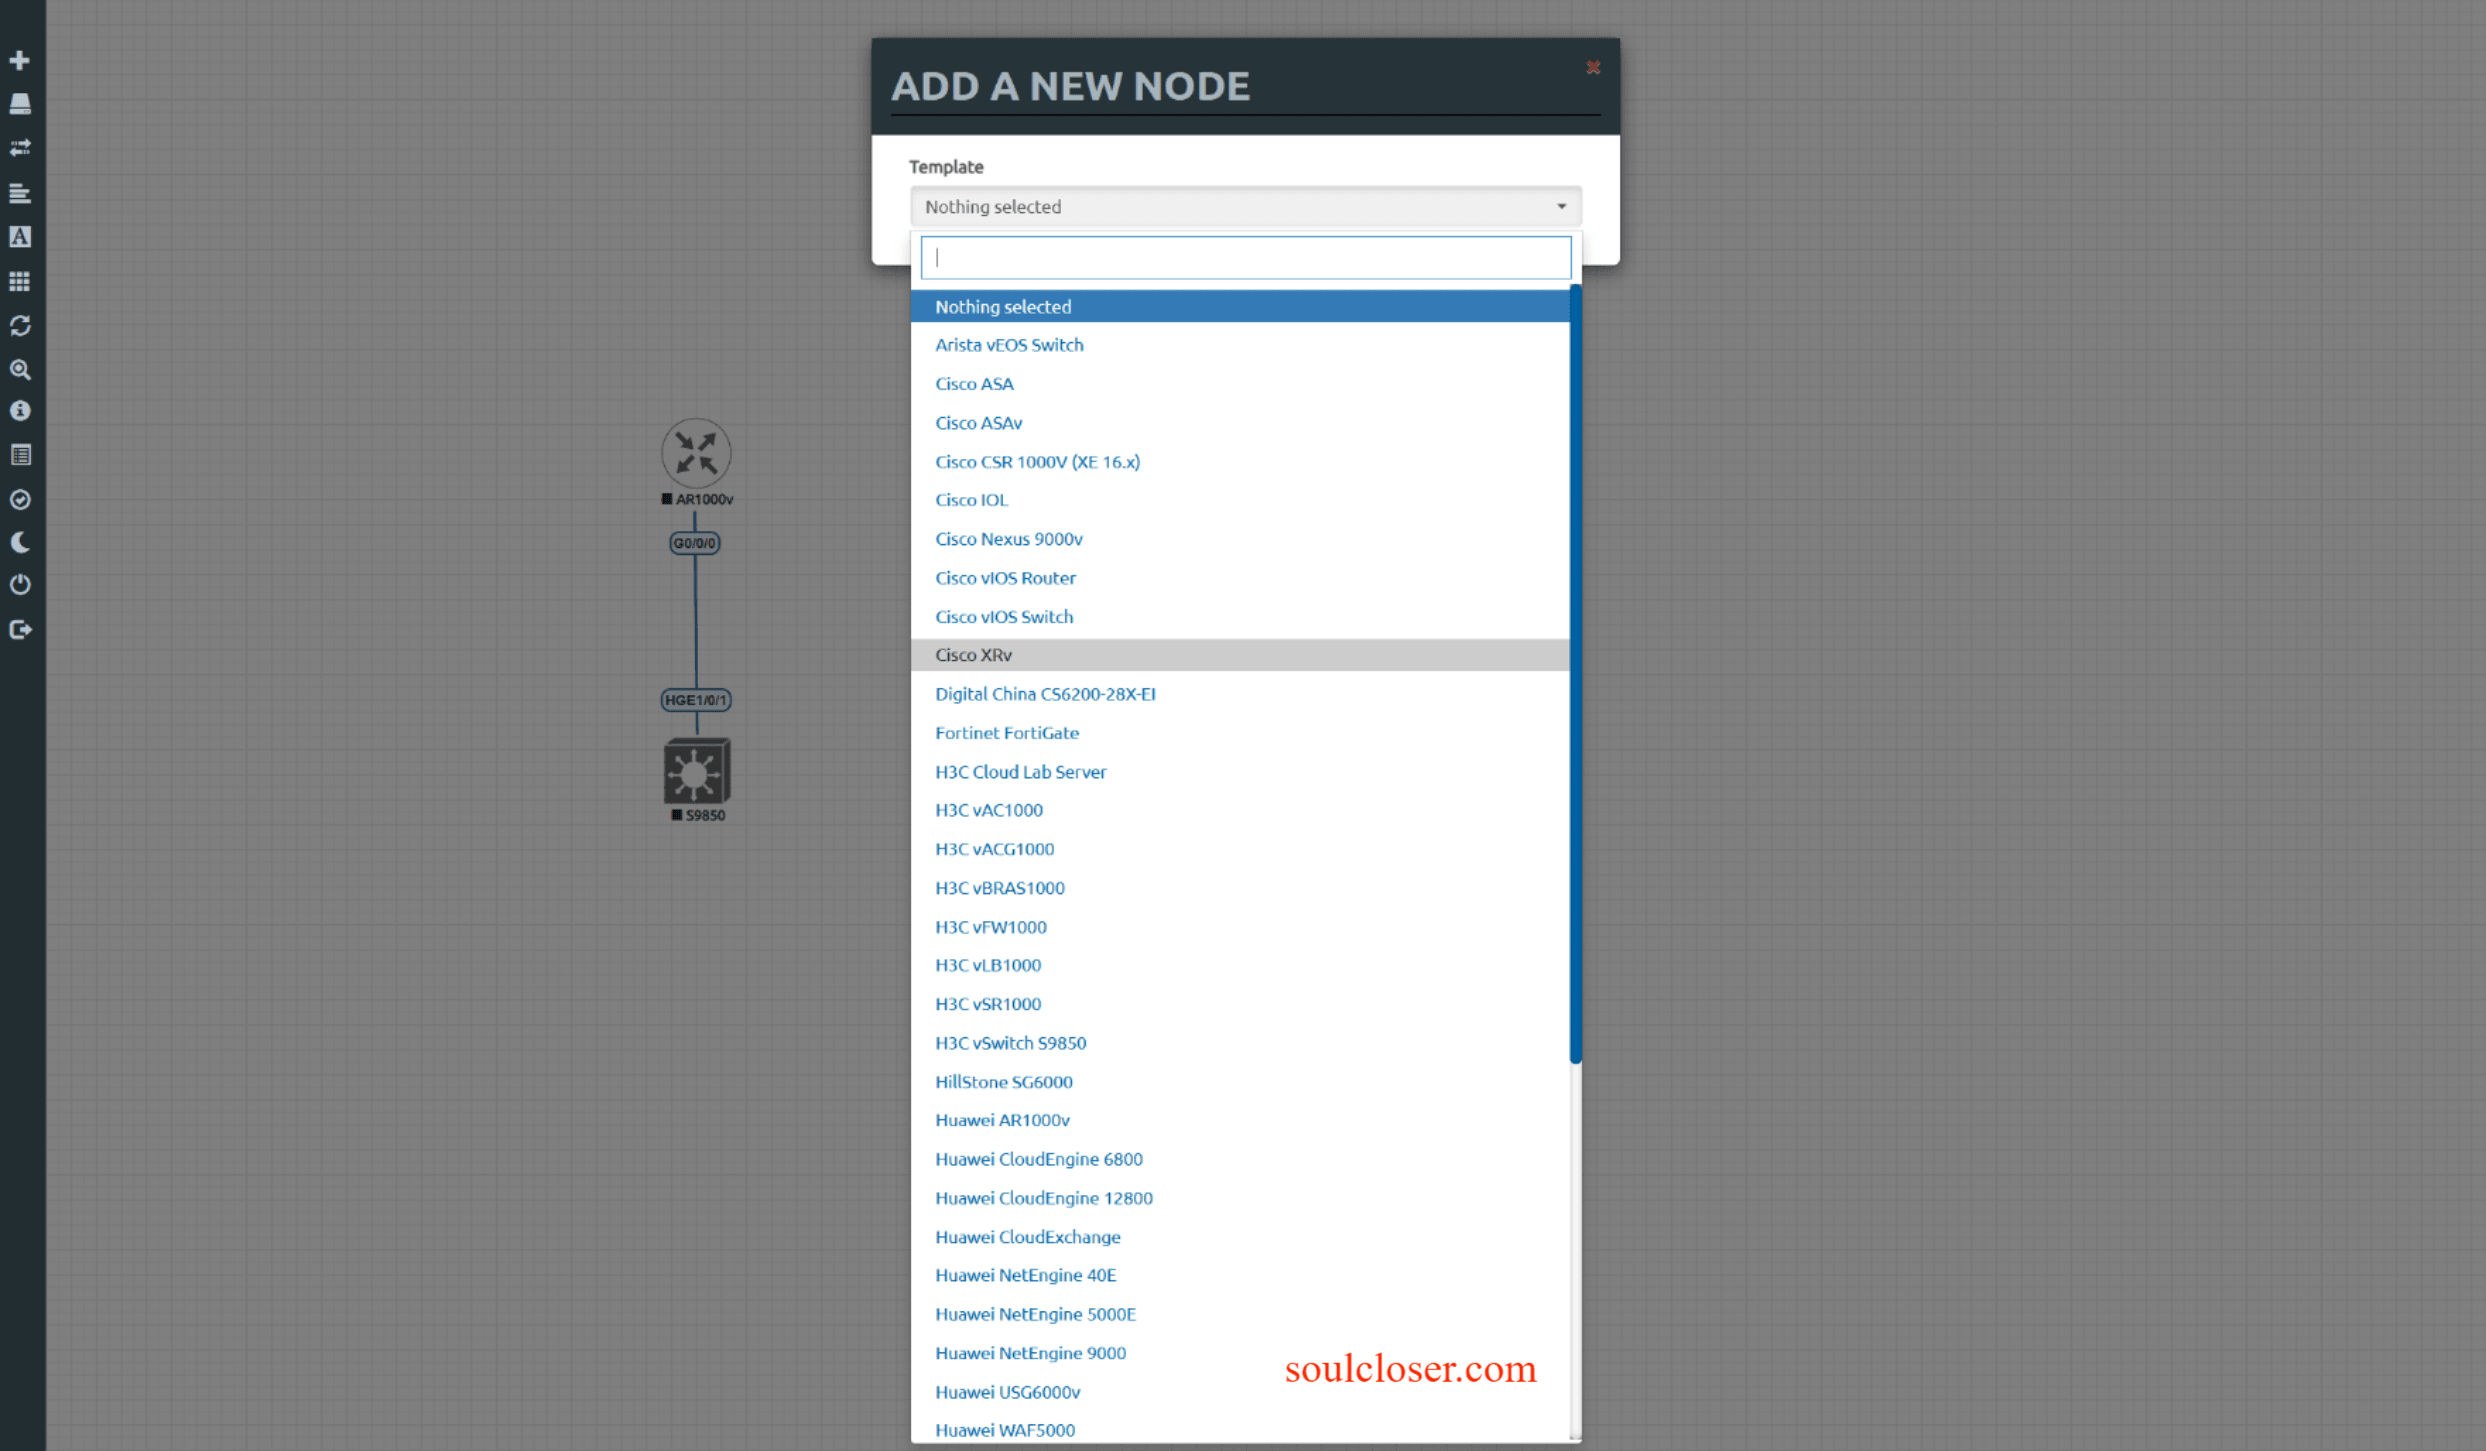
In the left sidebar, select Add an Object, choose Node, and you’ll see the pre-configured devices from various vendors.
-
Select the device with your mouse, right-click and choose Start to boot it, or Edit to modify startup parameters. After successful startup, a notification will appear on the right side.
Connecting to Virtual Devices via Telnet
- By default, connections are made via the Telnet protocol. Double-clicking a device will invoke Windows terminal output. However, sometimes the terminal doesn’t allow backspace, such as when you accidentally type something wrong but can’t delete it. In that case, you’ll need to use third-party terminal tools.
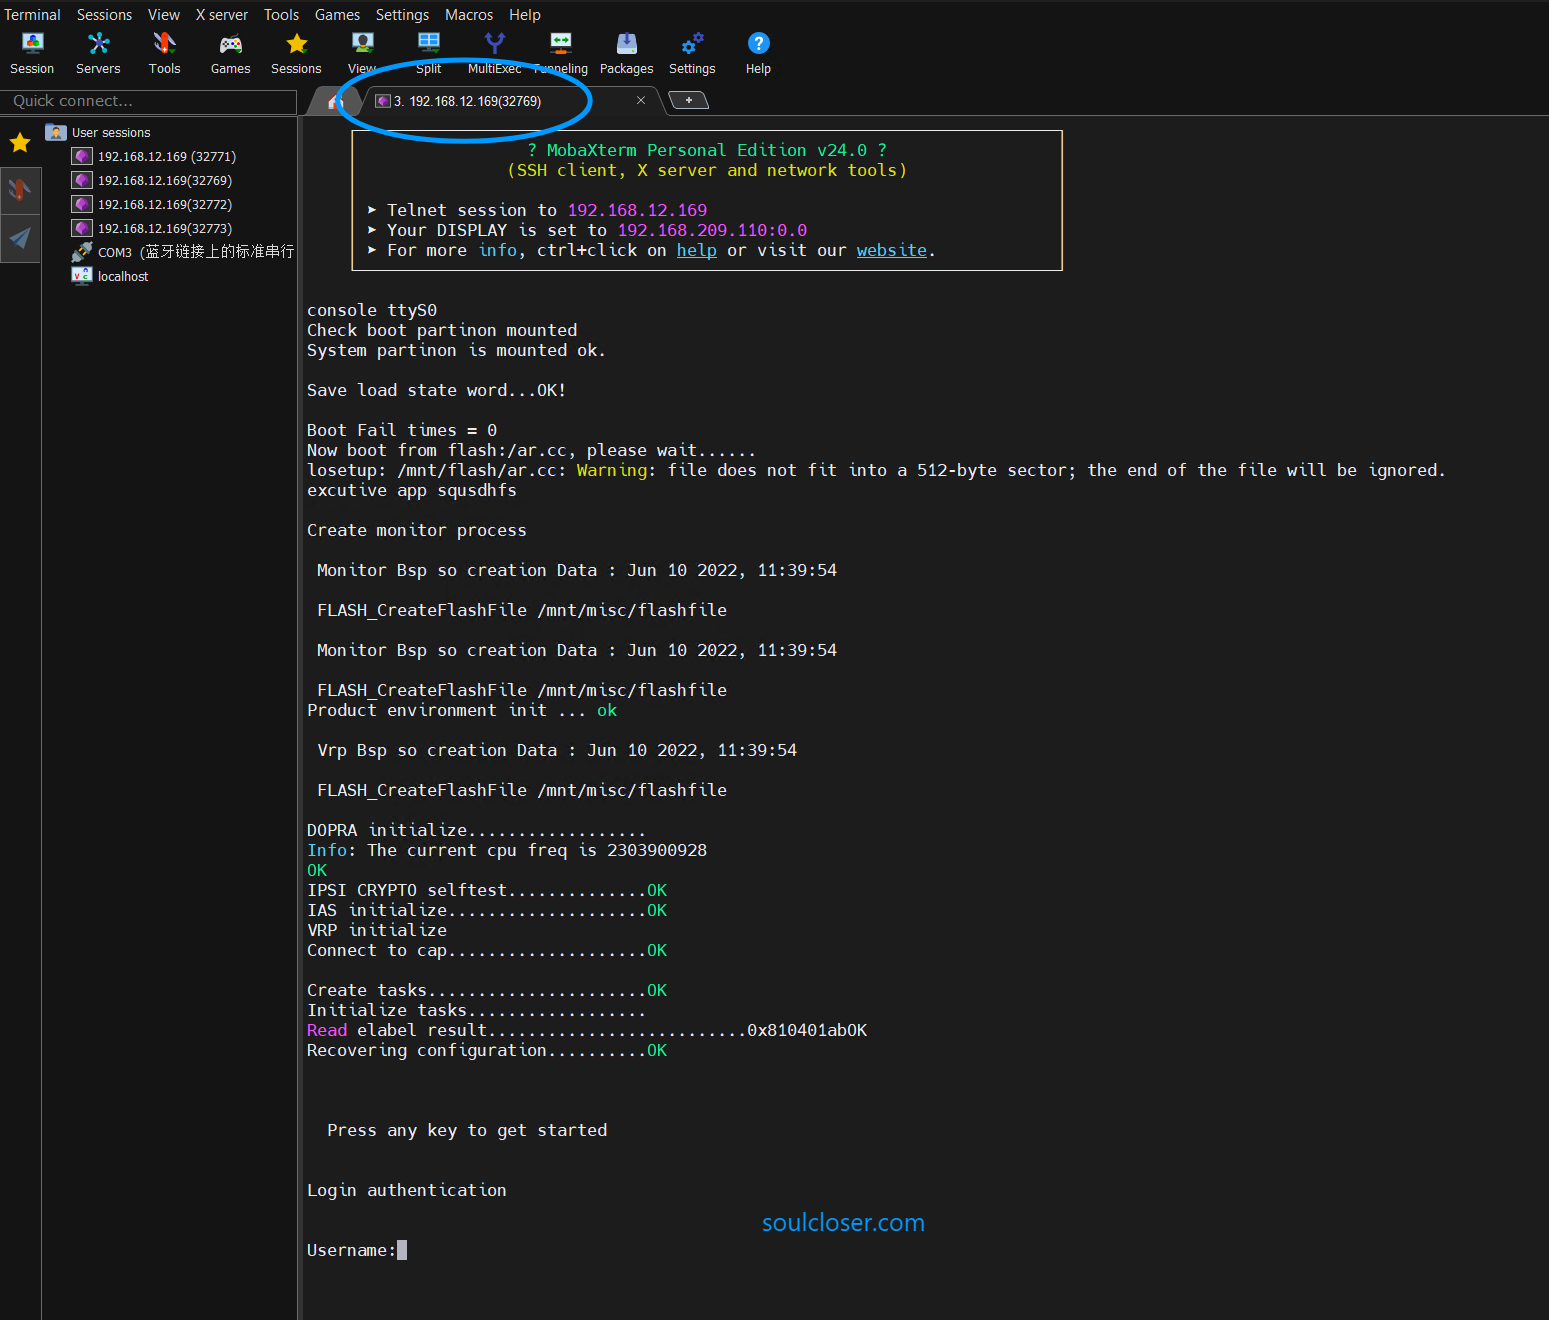
- For example, I’m using MobaXterm here. After your device starts successfully, EVE-NG will open a port greater than or equal to 32769 on the Ubuntu system where EVE-NG is installed. Therefore, you can create a Telnet session from your host machine’s terminal software, using the port you observe in the terminal.
ss -tulp # Check which process is occupying the port
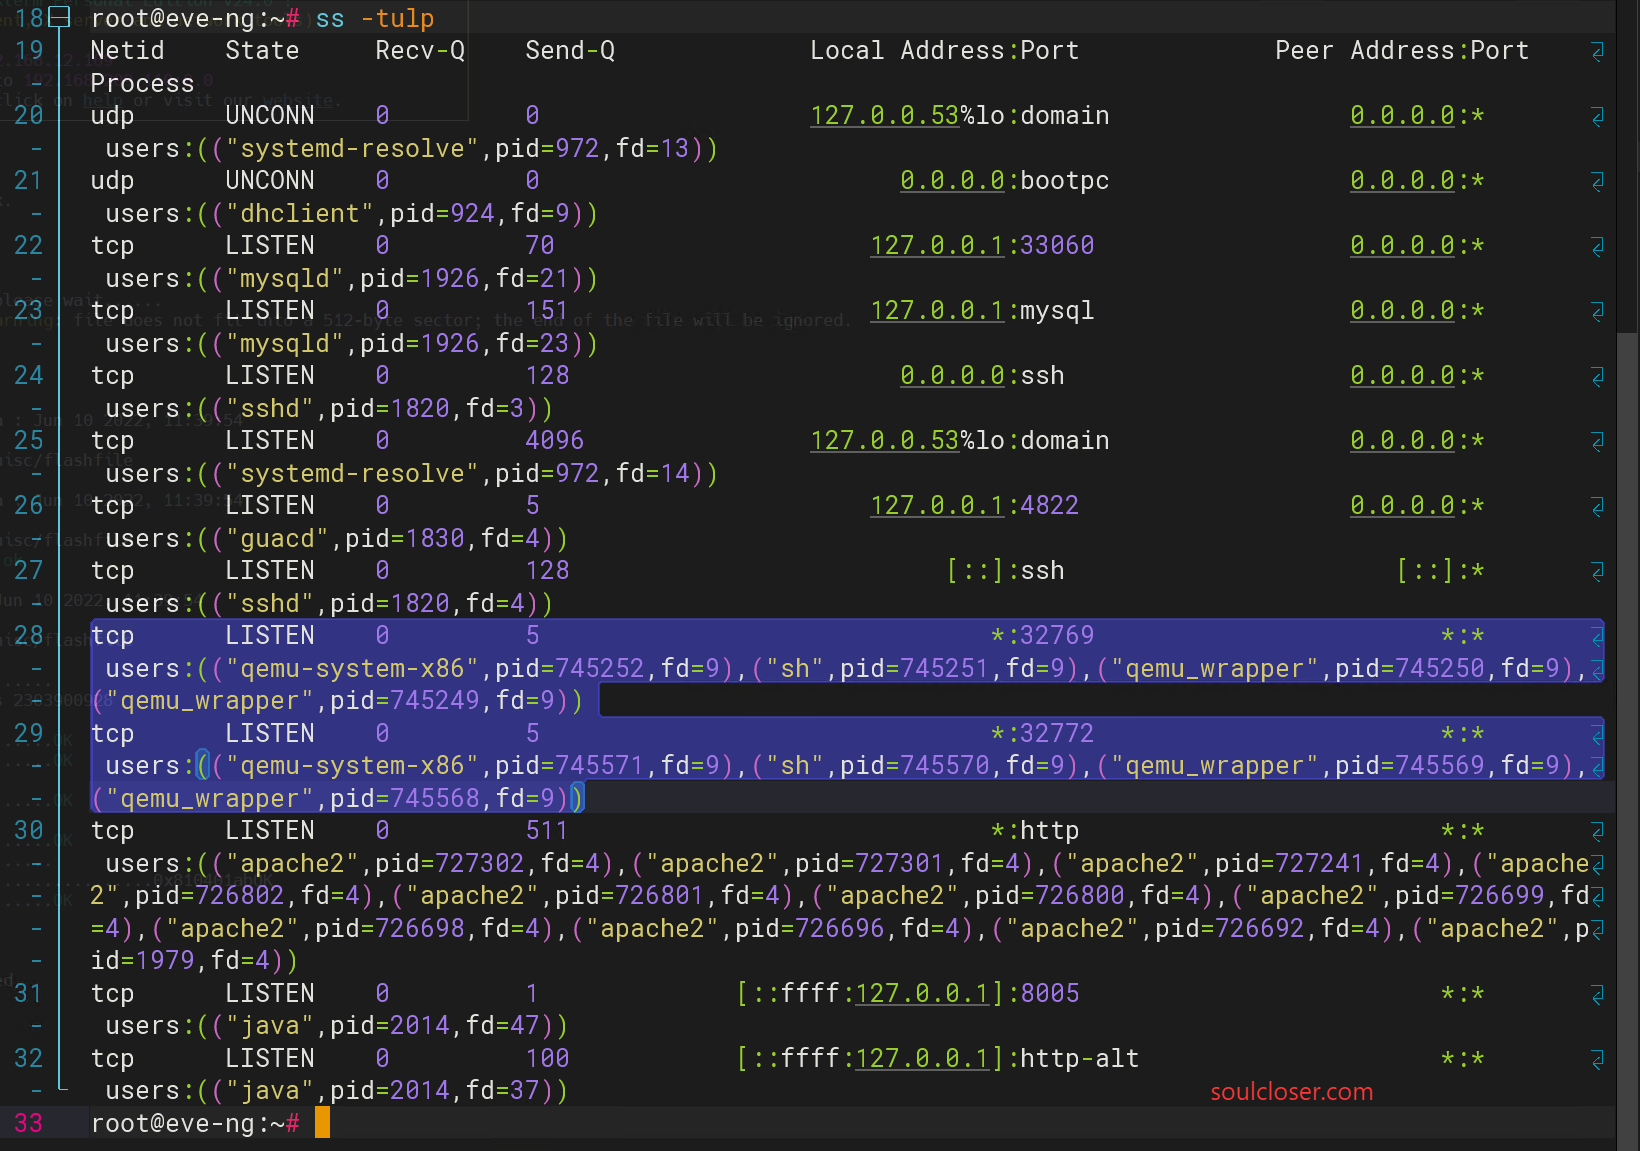
I started two devices, as shown in the figure; the ports are 32769 and 32772. Connecting via Telnet:
Conclusion
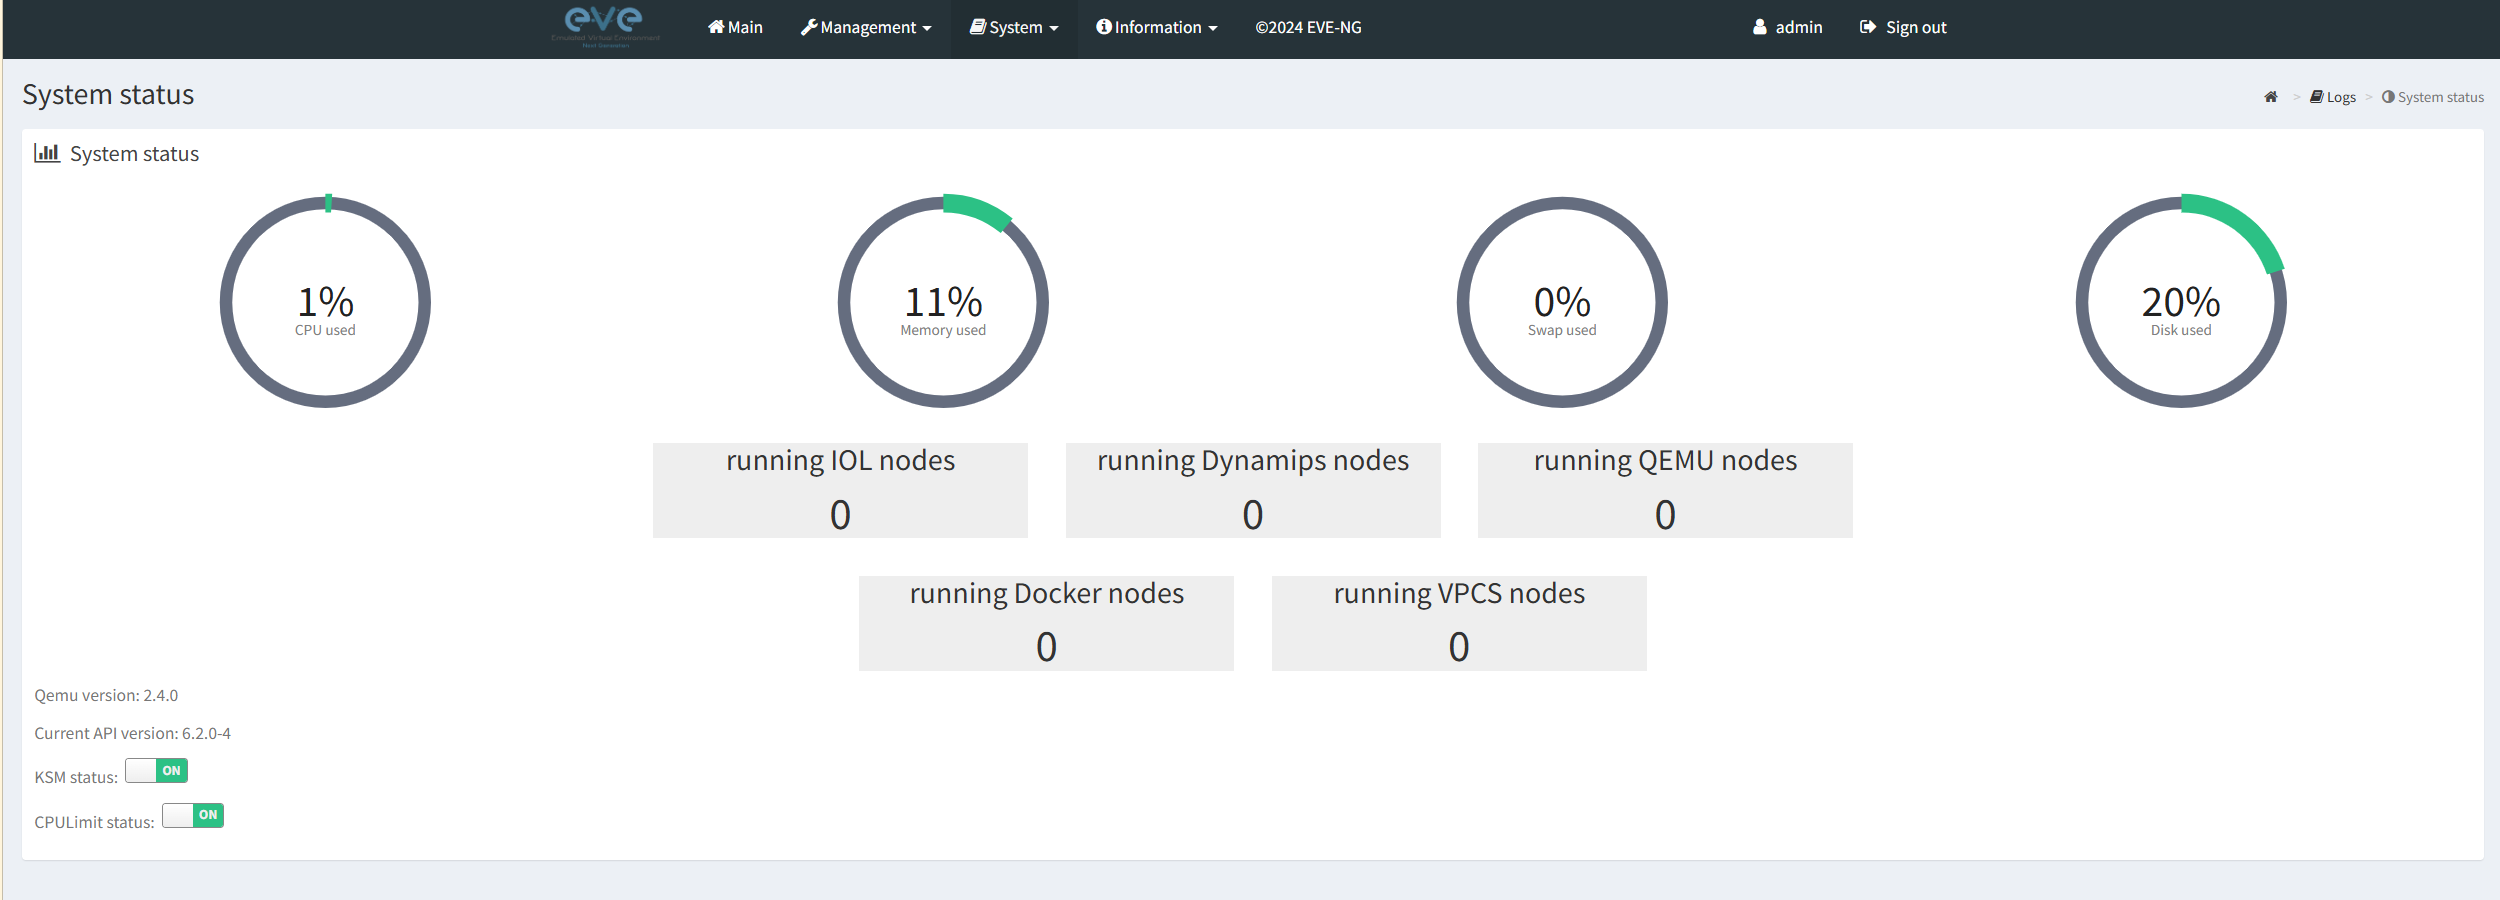
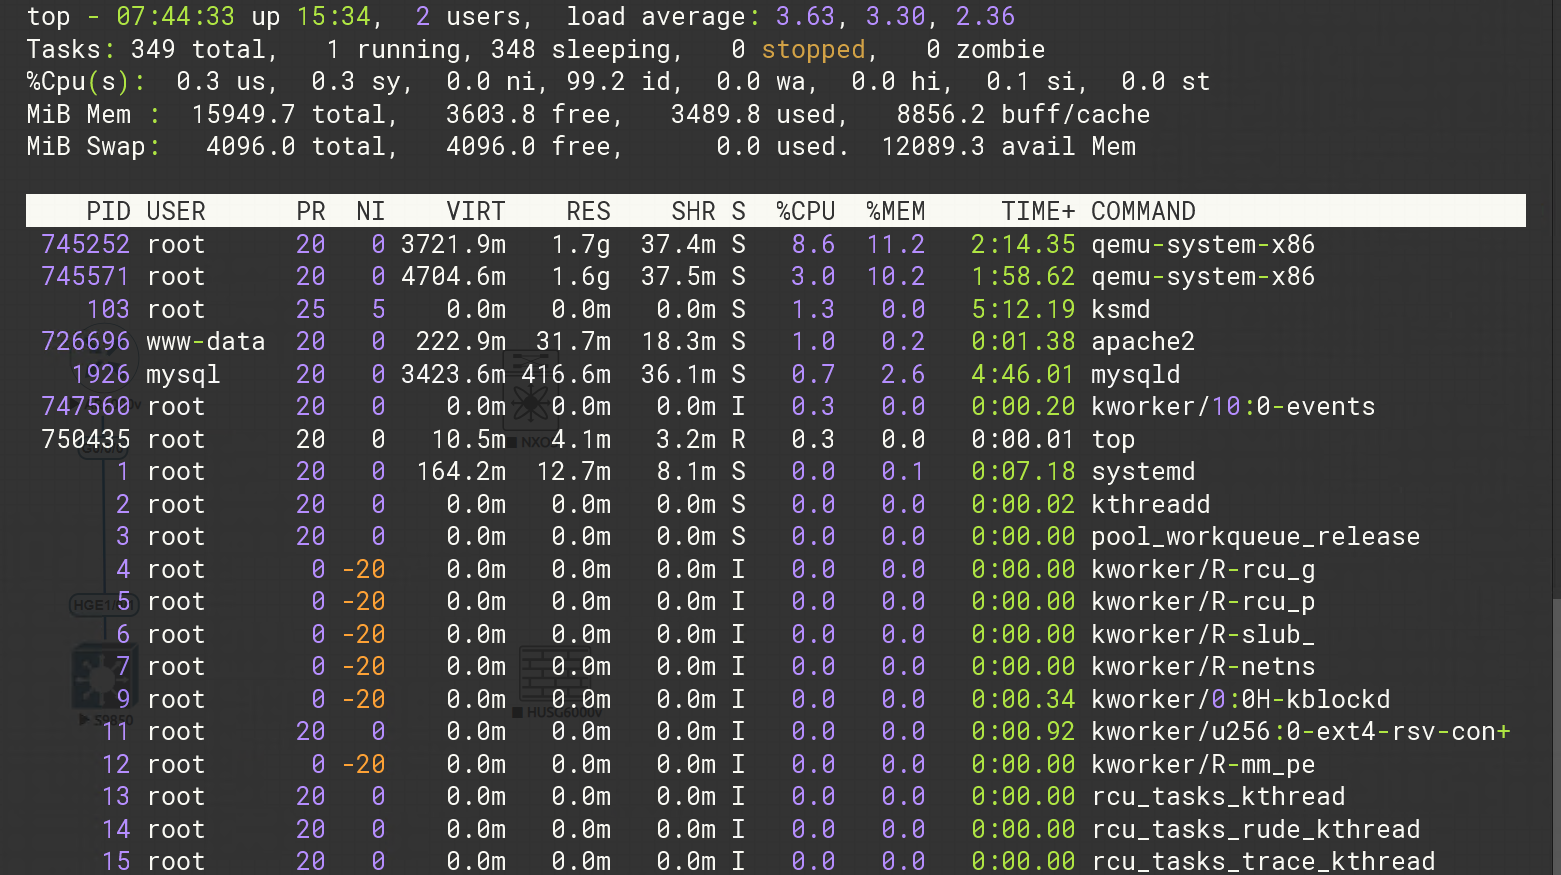
By default, executing save commands within the virtual machine will persist across reboots. You can also export configurations via the web interface. Finally, I’m attaching a screenshot of resource usage: with two devices running on an empty configuration, each device consumes approximately 1.5 GB of memory. For laptops, we recommend at least 32 GB of RAM and an 8-core CPU for small to medium-sized labs—it should work fine.
I hope this article helps you! Give it a like
 if you found it useful, and feel free to discuss any questions in our forum. You can also subscribe to our email newsletter
  for more information; Join our QQ Discussion Group.
Copyright Notice: This is an original article. When referencing, please include the original source link. Full reproduction is not permitted.