Introduction
Vercel is a very good serverless company. We can use it to build a simple image hosting service.
| Plan | Database Size | Read | Write | Request Count | Request Duration | Requires Projects |
|---|---|---|---|---|---|---|
| Hobby | 250MB/month | 100M/month | 100M/month | 100M/month | 1 hour/month |  |
Setup
-
Prepare a Vercel account, you can log in directly using GitHub
-
Create a repository (click quick create): Create
-
In the following page, enter a name yourself, then add a Blob Store and confirm
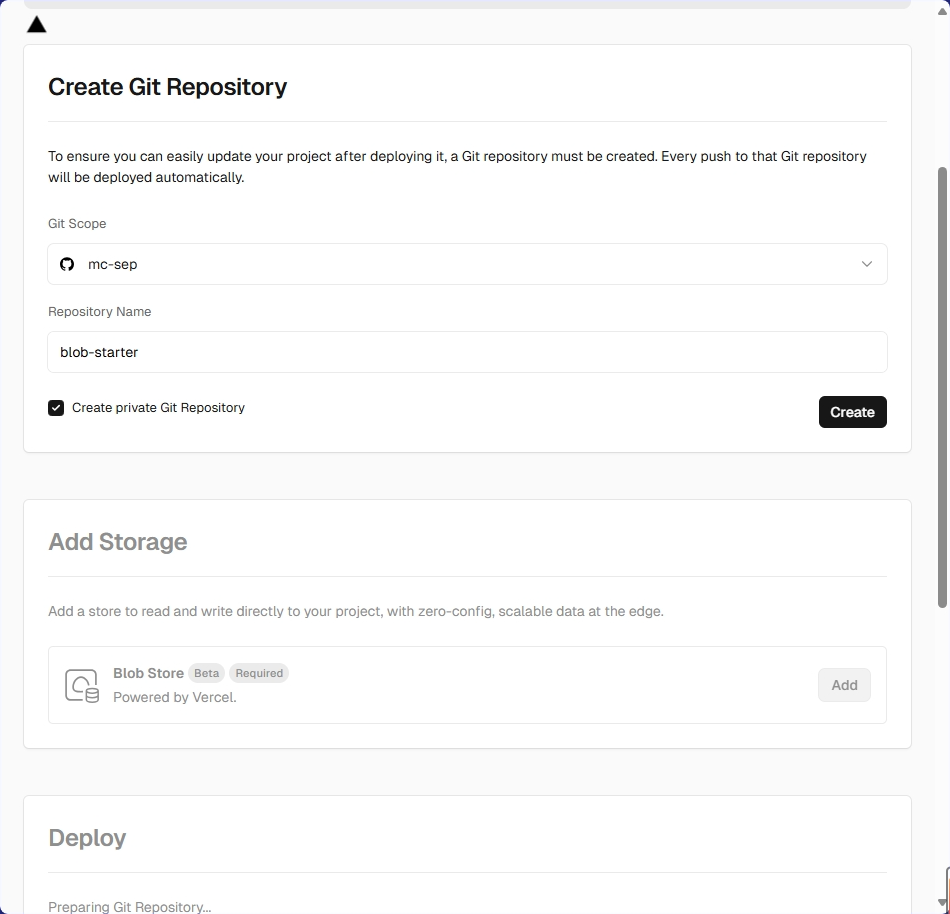
Note: Each user is only allowed to create one Vercel Blob Storage!
-
Once the celebration animation appears, click Continue to Dashboard.
-
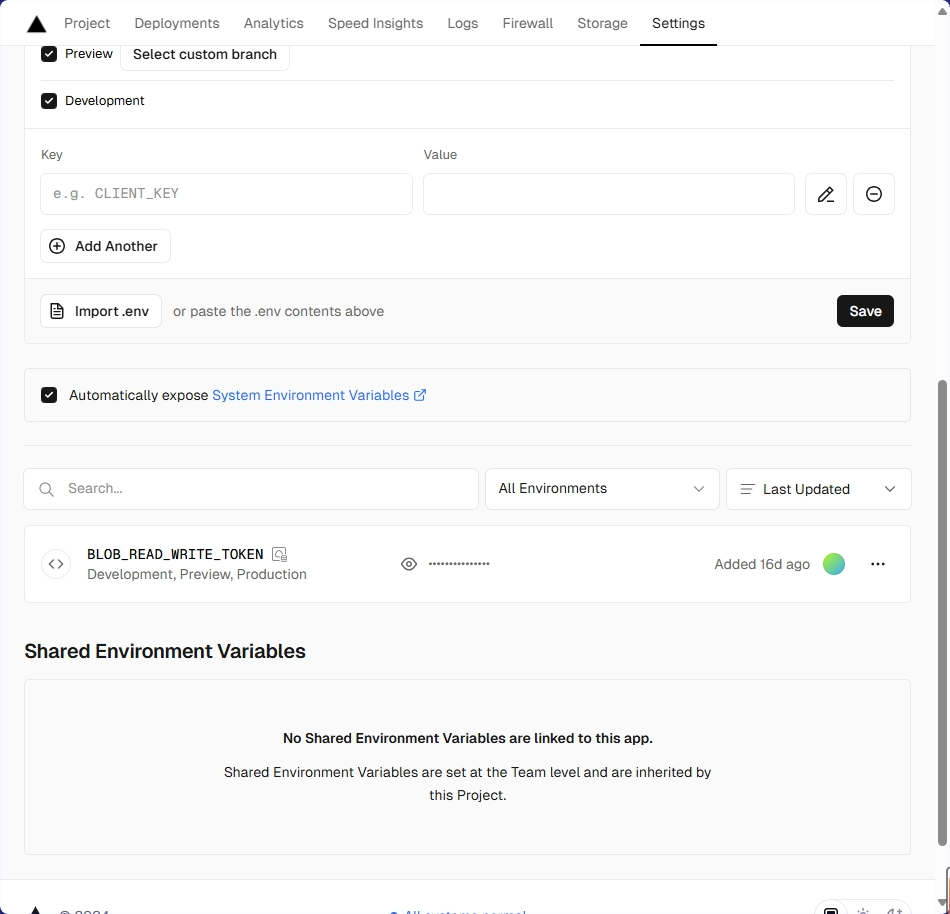
Click Settings → Environment Variables, find the environment variable named BLOB_READ_WRITE_TOKEN at the bottom, click to copy, the format is as follows:
vercel_blob_rw_*************************************
-
Return to Settings → Functions, change the region to Hong Kong (East) – hkg1 or Tokyo, Japan (Northeast) – hnd1
-
Return to the Dashboard main page, click the button to enter the created GitHub Repo:
- Open the .env.example file, paste the copied content at the end, the format is as follows:
BLOB_READ_WRITE_TOKEN=vercel_blob_rw_*******************************
- Open [Main Blob Storage] / app / page.tsx, modify the content inside to English (it is recommended to keep the original site links), you can refer to my configuration
import Image from 'next/image'
import Link from 'next/link'
import ExpandingArrow from '@/components/expanding-arrow'
import Uploader from '@/components/uploader'
import { Toaster } from '@/components/toaster'

export default function Home() {
  return (
    <main className="relative flex min-h-screen flex-col items-center justify-center">
      <Toaster />
      <Link
        href="https://vercel.com/templates/next.js/blob-starter"
        className="group mt-20 sm:mt-0 rounded-full flex space-x-1 bg-white/30 shadow-sm ring-1 ring-gray-900/5 text-gray-600 text-sm font-medium px-10 py-2 hover:shadow-lg active:shadow-sm transition-all"
      >
        <p>Editable banner content</p>
        <ExpandingArrow />
      </Link>
      <h1 className="pt-4 pb-8 bg-gradient-to-br from-black via-[#171717] to-[#575757] bg-clip-text text-center text-4xl font-medium tracking-tight text-transparent md:text-7xl">
        Editable main title
      </h1>
      <div className="bg-white/30 p-12 shadow-xl ring-1 ring-gray-900/5 rounded-lg backdrop-blur-lg max-w-xl mx-auto w-full">
        <Uploader />
      </div>
      <p className="font-light text-gray-600 w-full max-w-lg text-center mt-6">
        <Link
          href="https://vercel.com/blob"
          className="font-medium underline underline-offset-4 hover:text-black transition-colors"
        >
          Editable title text
        </Link>{' '}
        Web. Built with{' '}
        <Link
          href="https://nextjs.org/docs"
          className="font-medium underline underline-offset-4 hover:text-black transition-colors"
        >
          Next.js App Router
        </Link>
        .
      </p>
      <div className="sm:absolute sm:bottom-0 w-full px-20 py-10 flex justify-between">
        <Link href="https://vercel.com">
          <Image
            src="/vercel.svg"
            alt="Vercel Logo"
            width={100}
            height={24}
            priority
          />
        </Link>
        <Link
          href="https://github.com/vercel/examples/tree/main/storage/blob-starter"
          className="flex items-center space-x-2"
        >
          <Image
            src="/github.svg"
            alt="GitHub Logo"
            width={24}
            height={24}
            priority
          />
          <p className="font-light">Github</p>
        </Link>
      </div>
    </main>
  )
}
- After saving, the system will redeploy once. Return to Settings → Domains, add your domain (make sure your domain registrar has added an A record pointing to 76.76.21.98, then add it).
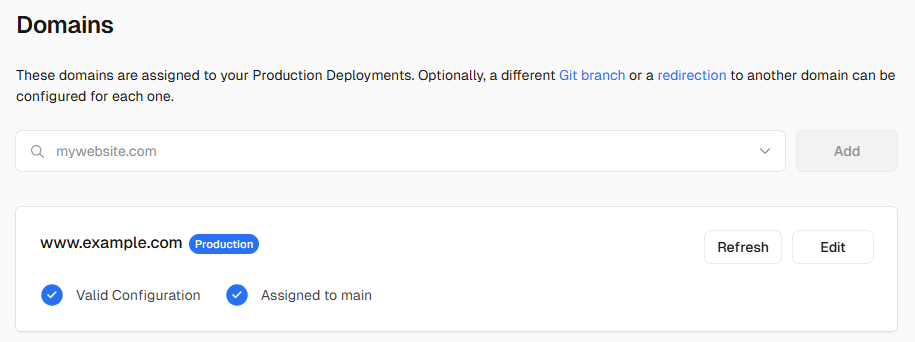
- Done!
Tip: You can check the repository status on the Storage page, such as size, read/write counts, etc.
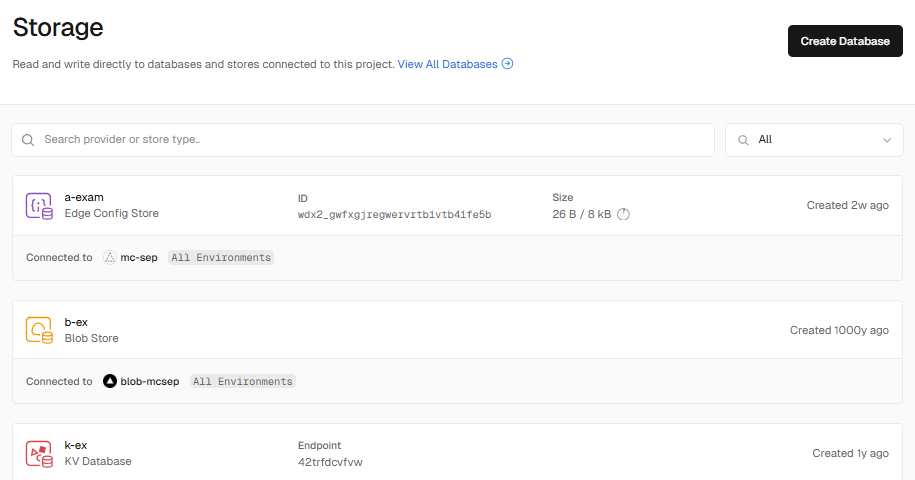
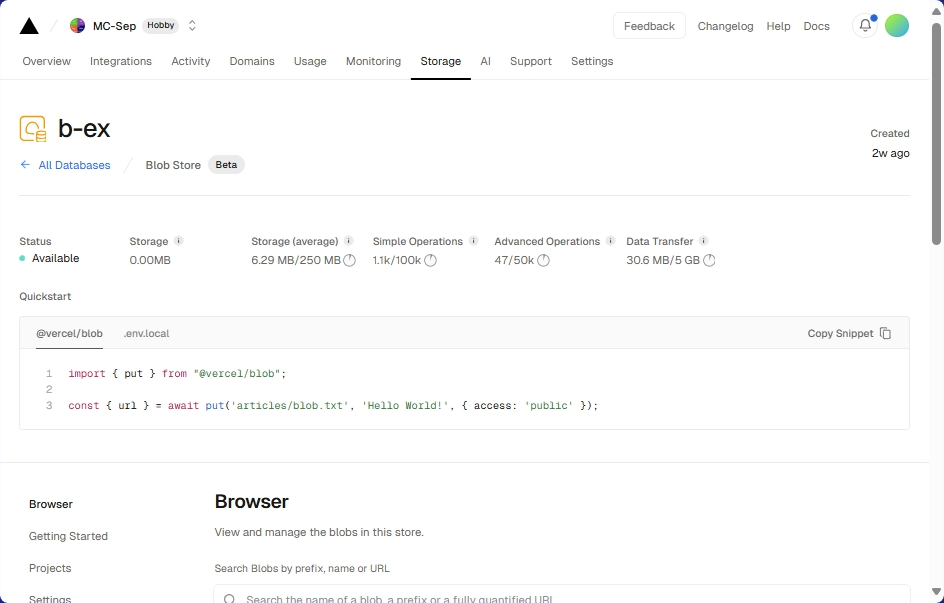
Preview
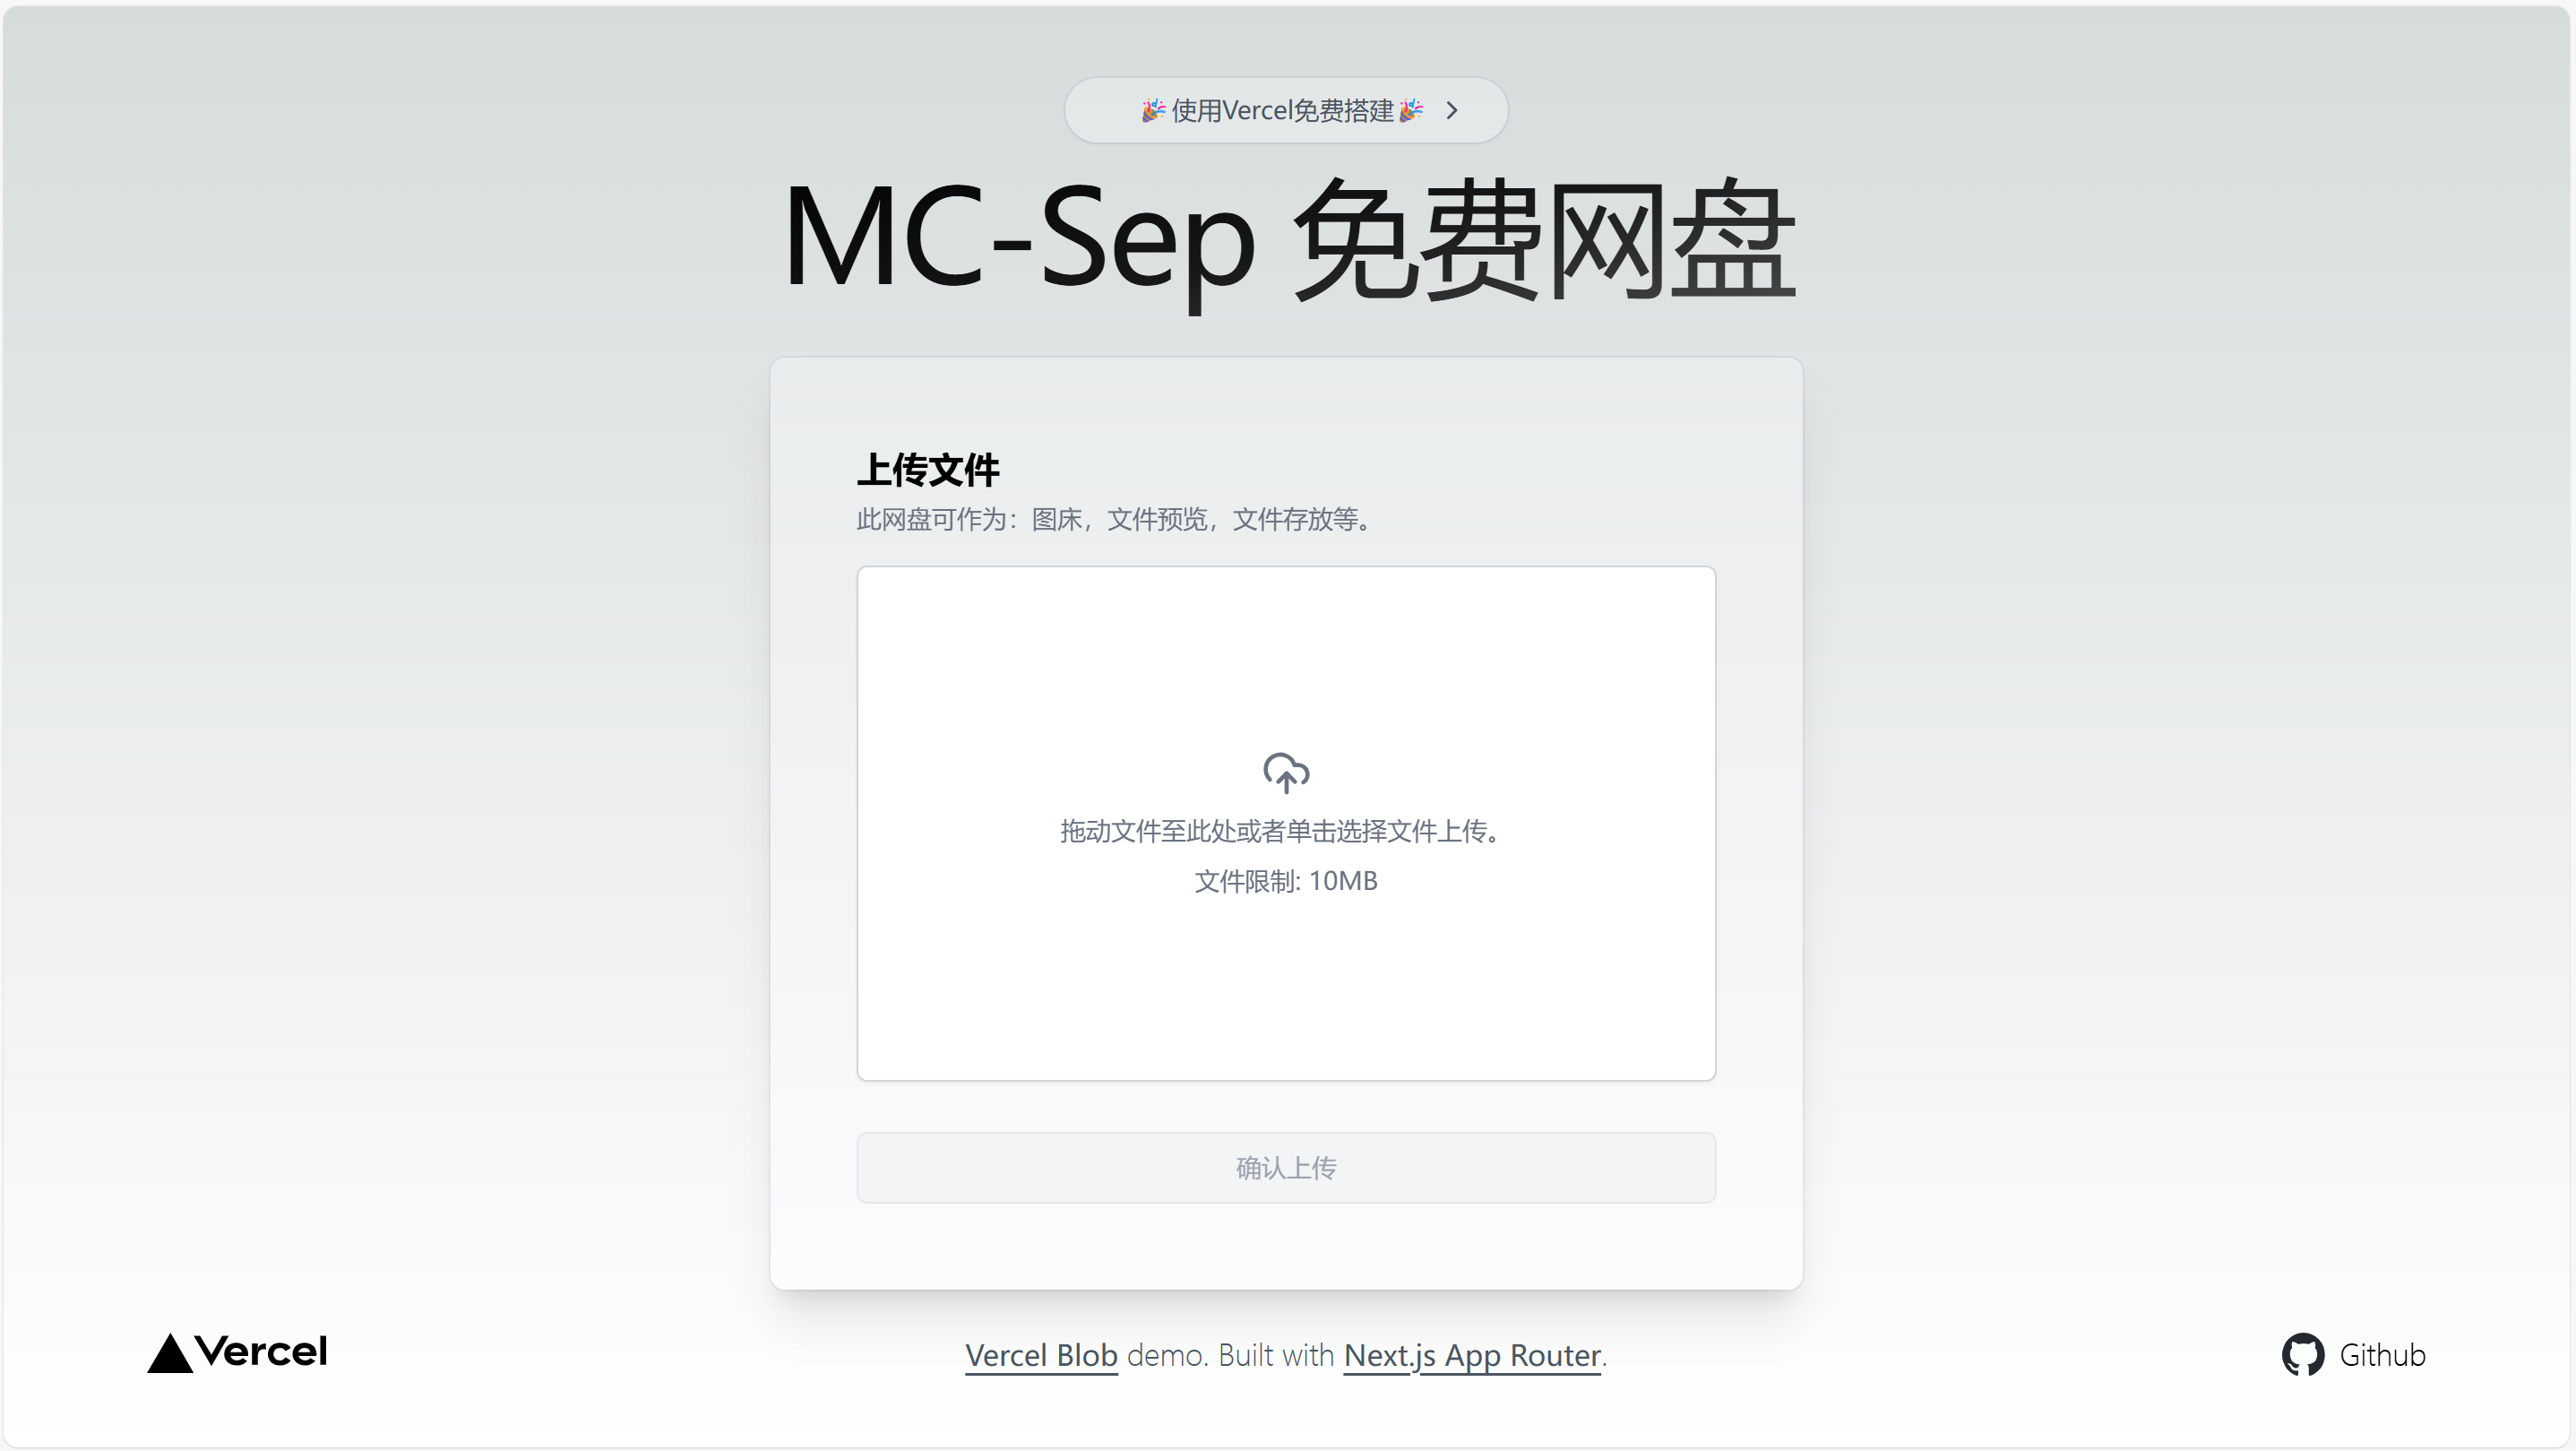
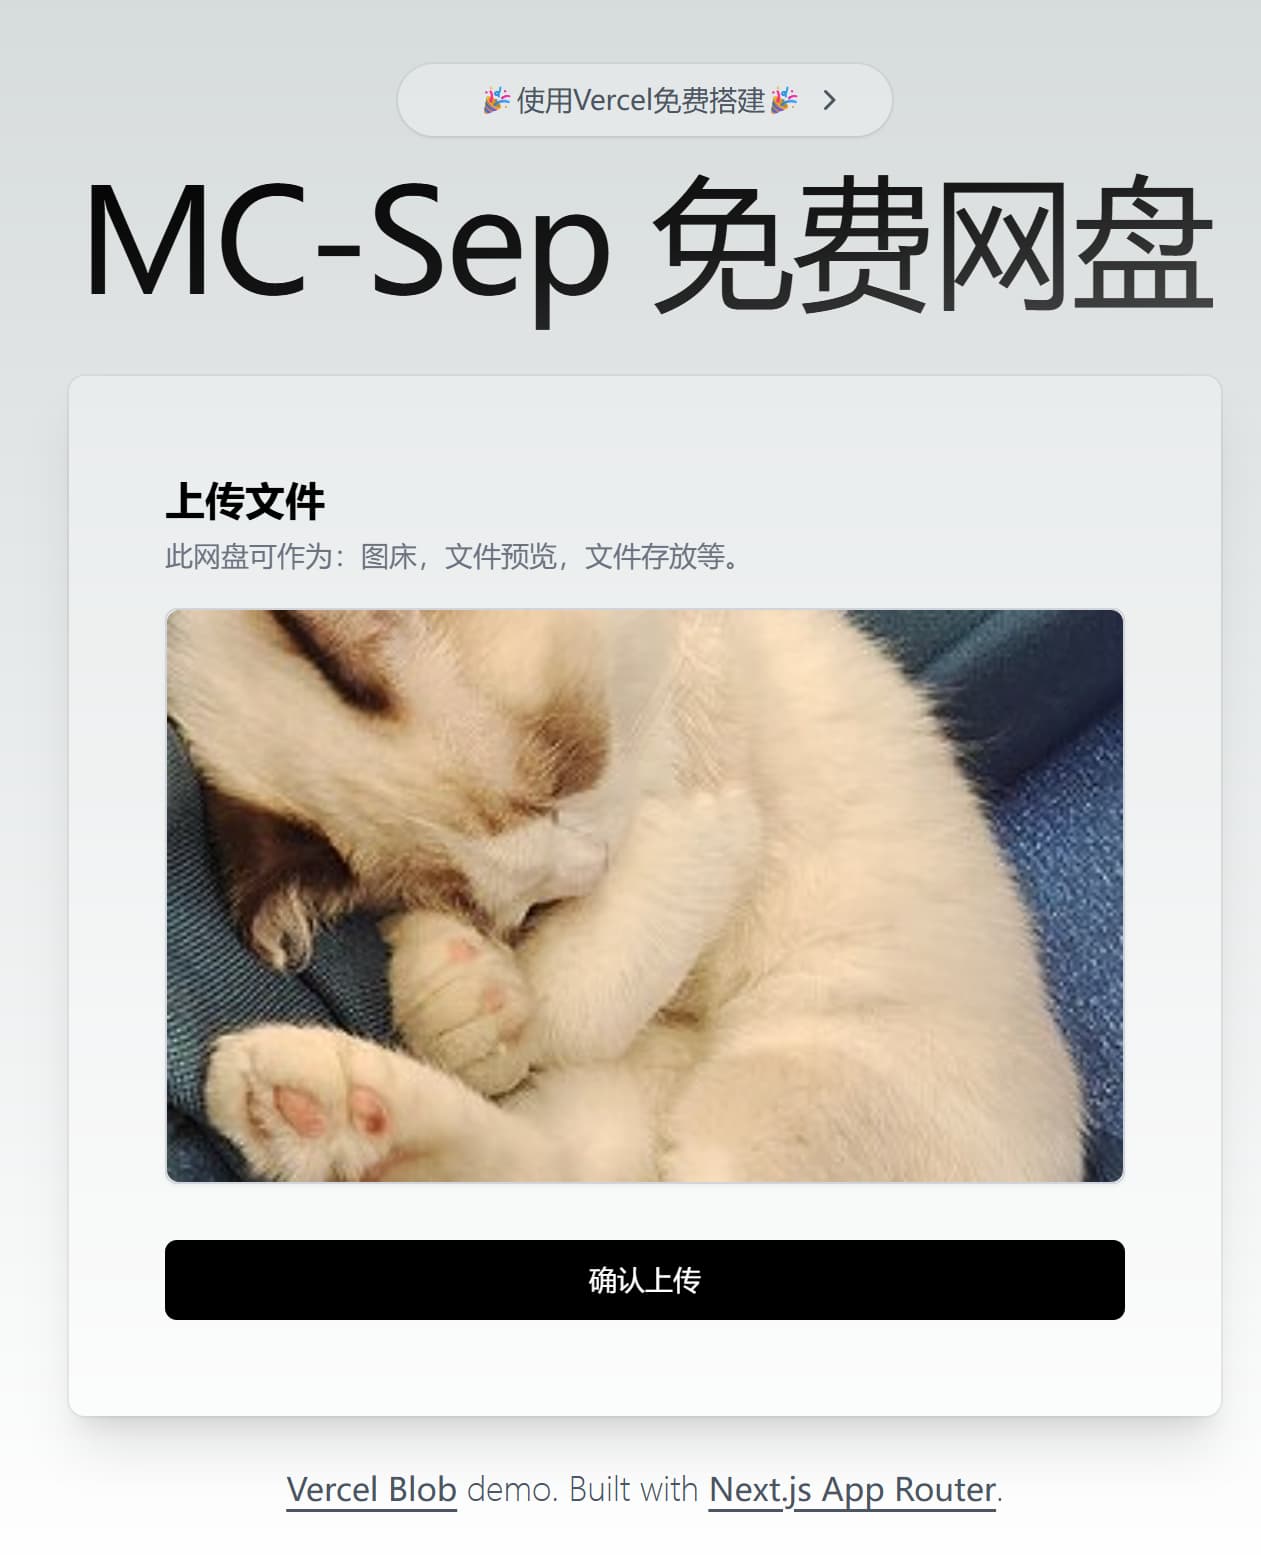
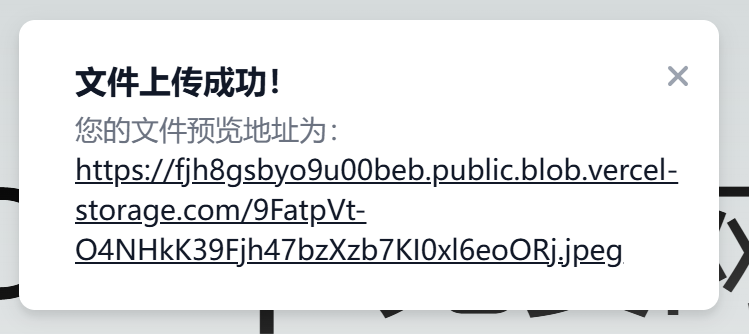

Summary
This page might look a bit plain, but you can customize it if you have the ability! This method is suitable for bloggers who just started their blog, but it may be slower for long-term use. You can use CDN acceleration.